Some drywall repairs are a reasonable weekend project. Others are where a homeowner spends a Saturday and still ends up with a patch that shows. This guide walks through the steps for the DIY-friendly cases, then draws the honest line where calling a pro is the better call.
What you will need
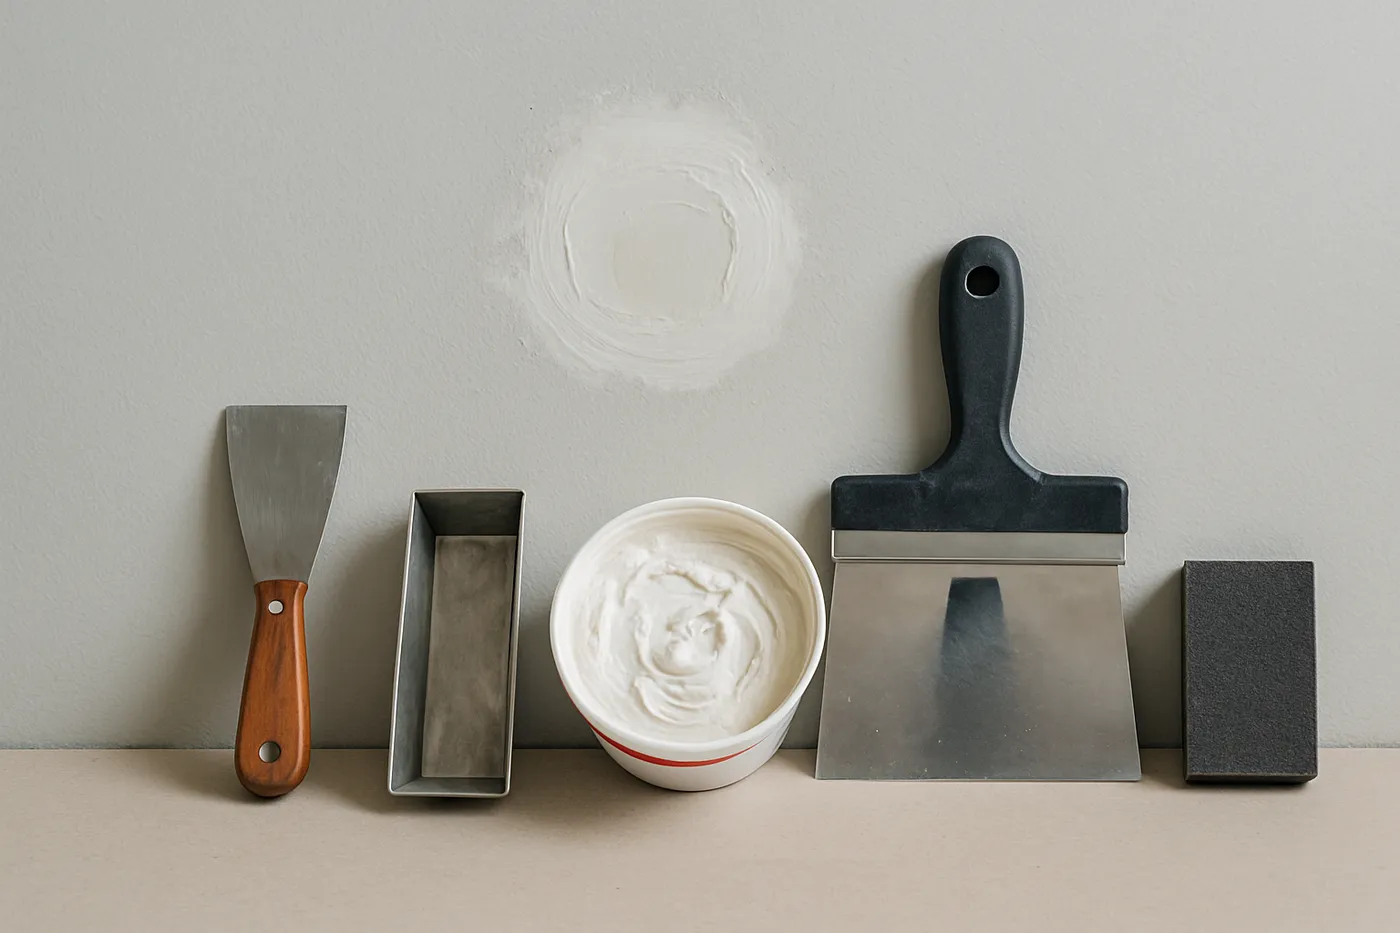
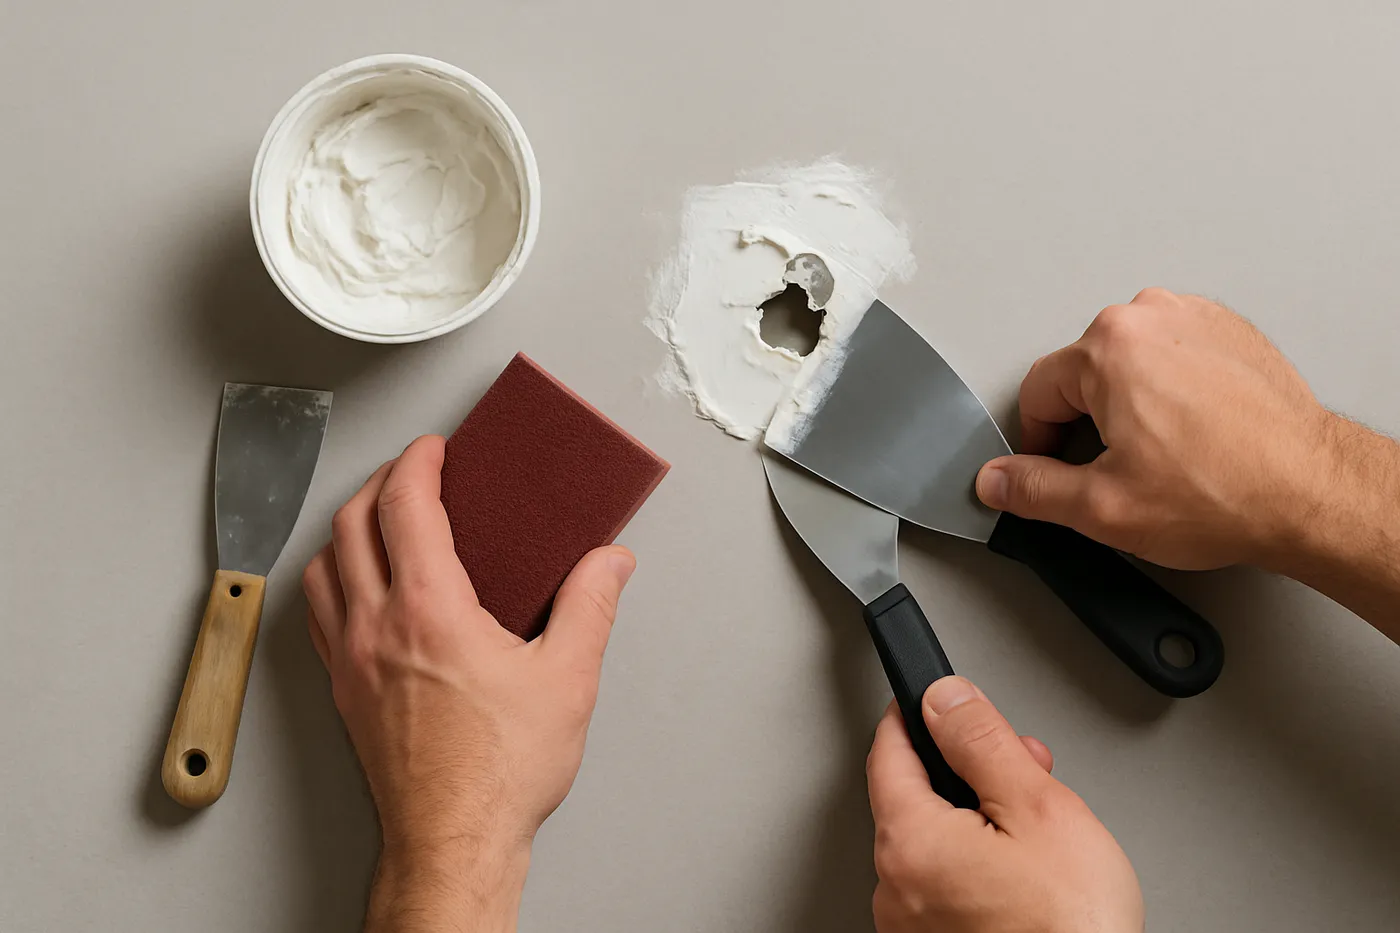
For small-to-medium repairs, gather:
- Joint compound (lightweight for fills, all-purpose for taping)
- A taping knife or putty knife, plus a wider knife for feathering
- A self-adhesive mesh patch or a drywall patch kit for larger holes
- Sandpaper or a sanding sponge (fine grit)
- Drywall primer
- Your wall paint for the spot or full-wall repaint
- A drop cloth and a damp rag for dust control
For anything textured, you will also need a way to replicate the texture, which is where most DIY repairs come apart.
Step-by-step: small holes and dents
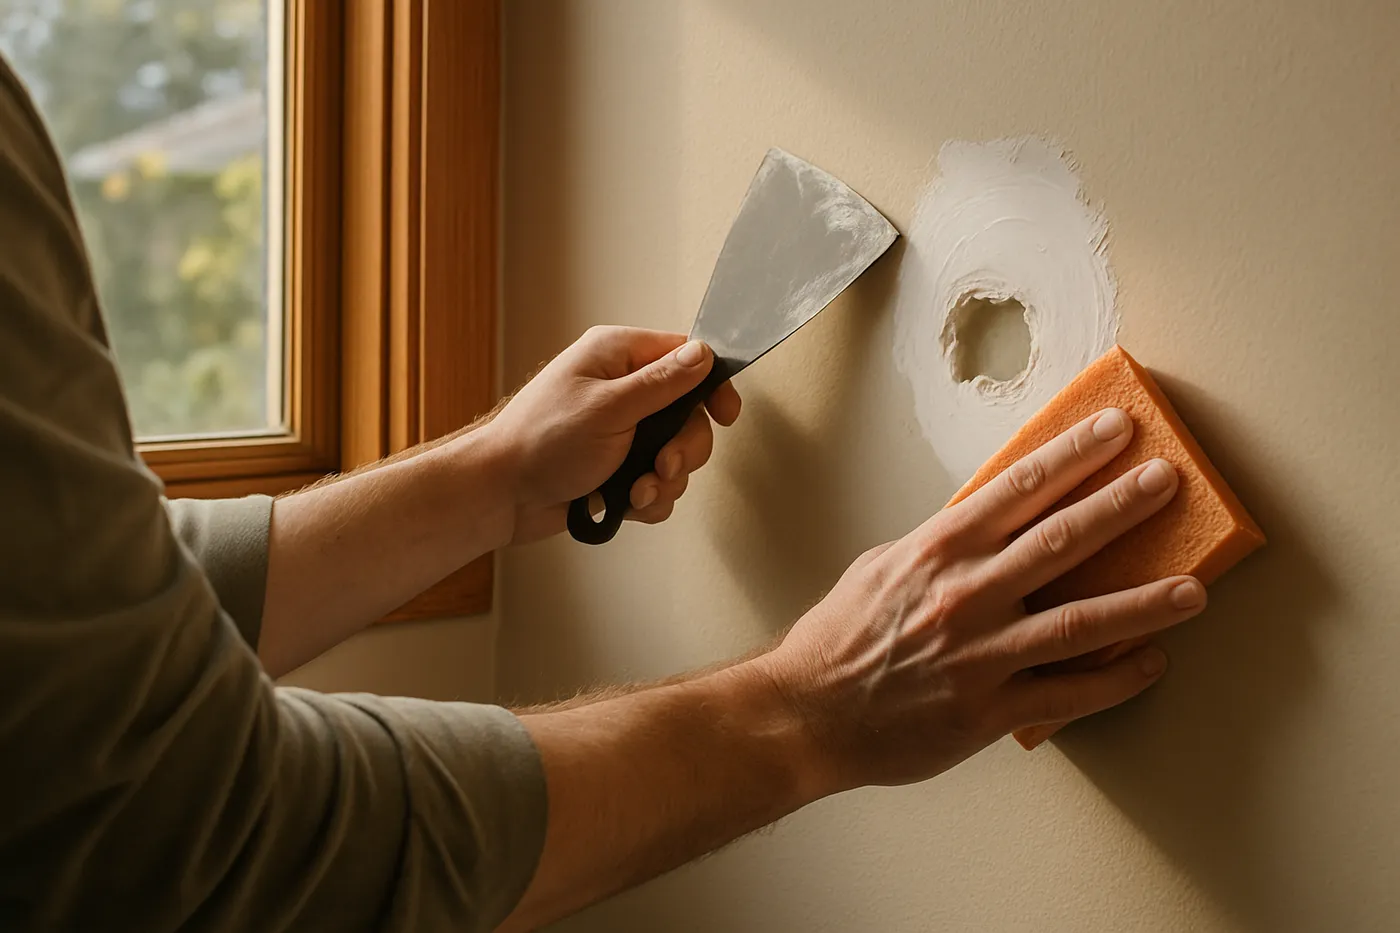
- Clean the area. Scrape away loose paper, paint, or crumbling edges so the compound bonds to a solid surface.
- Fill. For nail holes and dents, press joint compound or a patch filler into the hole and scrape flush with the wall.
- Dry. Let the compound fully dry. Rushing this is the number-one cause of cracking and sagging.
- Sand. Sand smooth and level with the surrounding wall. Wipe the dust off.
- Prime. Spot-prime the repair so it does not flash through the paint.
- Paint. Touch up the spot, or repaint to a natural break if the wall sheen will show the difference.
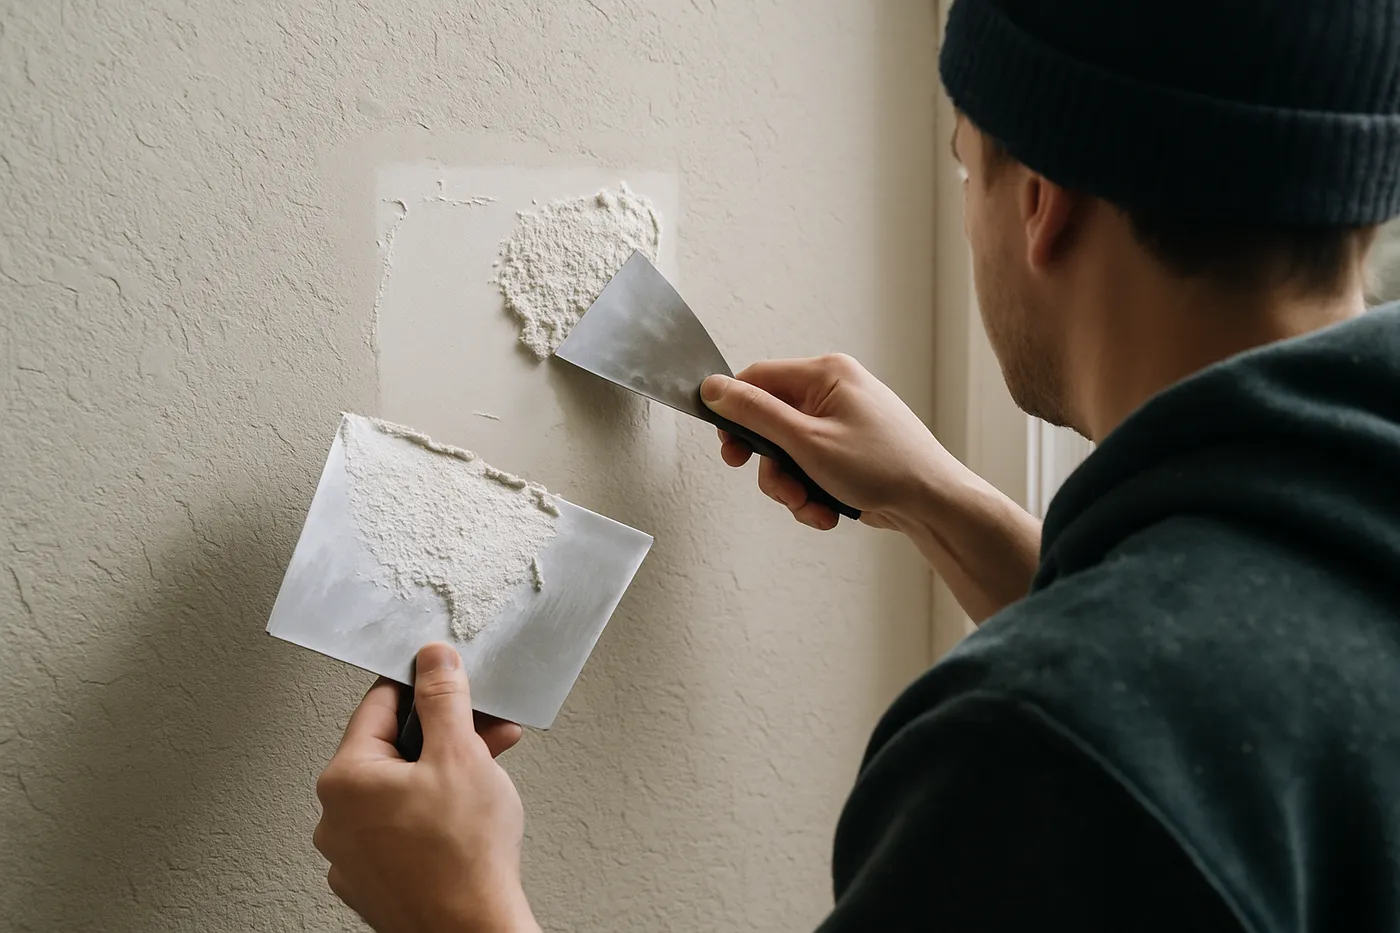
Step-by-step: large holes
- Cut clean. Square off the damaged area to clean, solid edges. Ragged holes are harder to finish.
- Add backing or a patch. For bigger openings, fit a backing board or a drywall patch so the new material has something to attach to.
- Tape. Apply mesh or paper tape over the seams to lock the patch in and prevent cracking.
- Mud in coats. Apply joint compound in thin coats, feathering each one wider than the last. Two or three coats is normal.
- Dry and sand. Let each coat dry fully, then sand between coats and after the final one.
- Match texture. Replicate the surrounding texture across the patch (see the next sections).
- Prime and paint. Prime the repair, then paint the wall or to a natural break so the finish blends.
Cracks and seams
Settling cracks and lifting seams are common, especially in older homes. The fix is not to smear compound over the crack, which only buys a few months. Cut out the failed area, retape the seam, mud in coats, sand, and repaint. If a crack keeps returning in the same spot, it usually points to ongoing movement, and a pro can address why it recurs rather than chasing it every year.
When to call a pro
Here is the honest line. Call a pro when the job involves:
- Ceilings and height. Overhead work and ladders or scaffolding are slow, messy, and easy to get wrong.
- Water damage. Find and fix the leak source first. Repairing over an active leak just repeats the damage, and you may have hidden rot behind the drywall.
- Texture matching. Orange peel, knockdown, and popcorn are skilled work. A flat patch on a textured wall flashes every time.
- Multiple rooms or a whole wall. Scale turns a small project into a long one.
- Pre-1978 homes. Older walls and ceilings may contain lead. Disturbing them calls for EPA Lead-Safe Certified practices.
- An invisible finish. If the goal is a repair you genuinely cannot see, a pro who matches texture and sheen and paints to a break earns the call.
Bigger than a weekend project? A free written estimate costs nothing and tells you which side of the line your repair is on. Call (206) 250-9193 or request a free estimate.
The Pacific Northwest angle
In the Seattle area, moisture makes water damage the most common reason a “simple” patch turns into a real repair. Before you touch the drywall, find and fix the source, a roof issue, a plumbing leak, failed flashing, or you will be back. Mid-century Eastside and Seattle homes also lean heavily on textured and popcorn ceilings, the exact finishes a DIY patch exposes. And in pre-1978 homes, test before disturbing older surfaces, since lead-safe handling may apply.
How Hedlund does it
When a repair crosses the line into pro territory, we handle the repair, the texture match, and the paint with one crew, so the patch disappears under the finish instead of standing out next to it. As a licensed Seattle-area contractor with a 10-year workmanship warranty, we would rather tell you a small fix is DIY-friendly than oversell it, and we are here for the ones that are not.
What our clients say
“Hedlund Painting did some warranty repair work at my home. It included some drywall work and interior painting.” Will K., 5 stars (Google)