You filled the hole, sanded it flat, painted over it, and you can still see it. That is the most common drywall frustration, and the cause is almost always the same: the patch shows because the texture and the sheen do not match. The hole was the easy part. Making the repair disappear is about the surface around it.
Why patches show
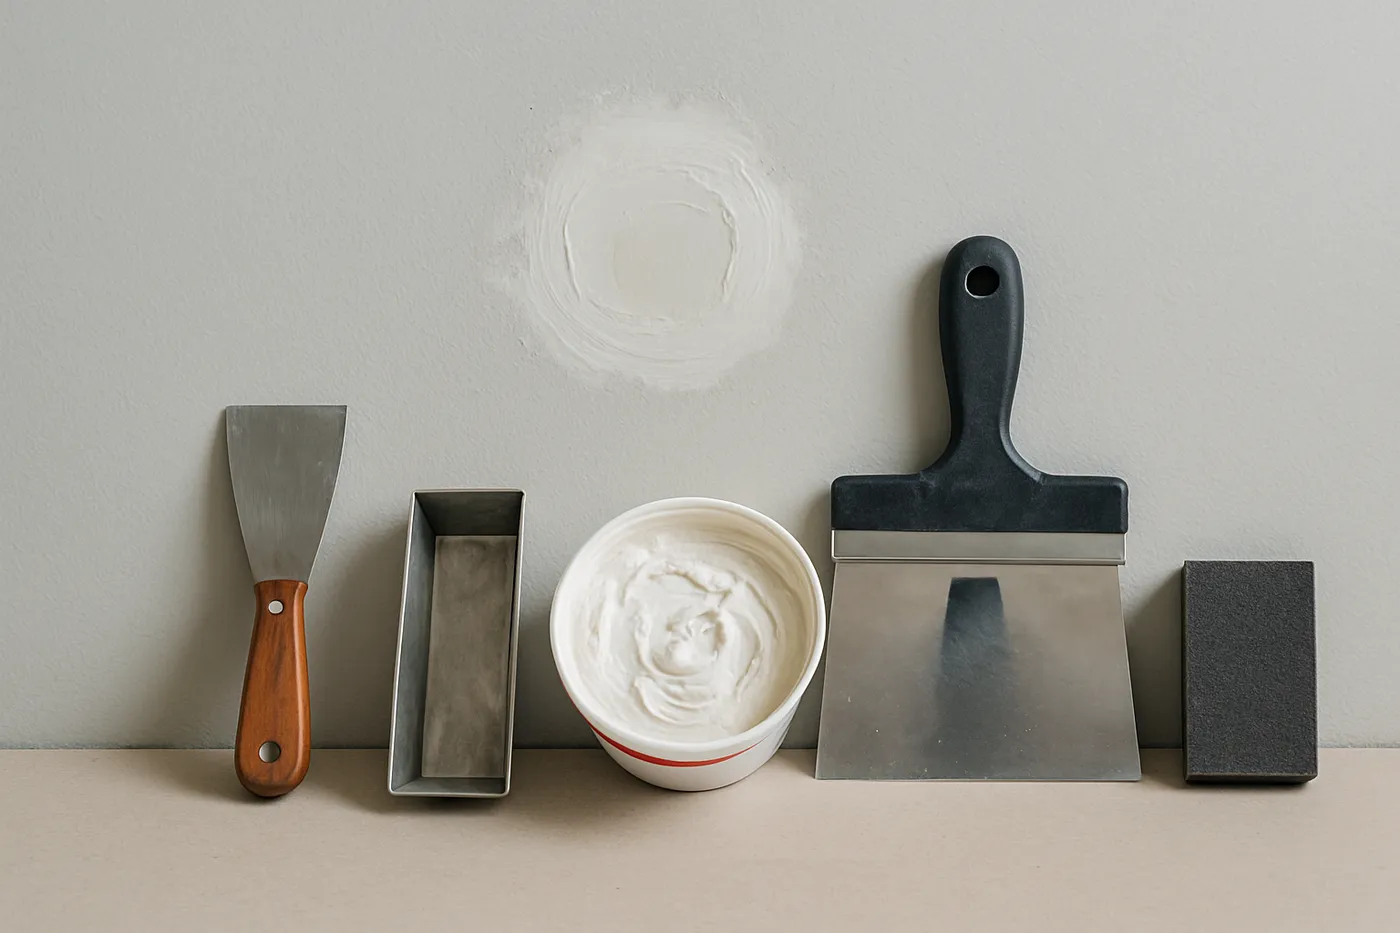
Even a clean, solid patch will stand out for a few specific reasons:
- Flat patch on a textured wall. Most walls are not perfectly smooth. A flat patch next to orange peel or knockdown catches the eye instantly, especially in raking light from a window or lamp.
- Sheen flashing. Fresh paint over bare compound reflects light differently than the aged paint around it. The patch looks like a slightly different color even when it is the same.
- Unprimed mud. Joint compound is porous and soaks up paint. Skip the primer and the patch drinks the finish and dulls, while the rest of the wall stays even.
- Hard edges. If the compound is not feathered out wide, you get a visible ridge or halo around the repair.
Fix all four, match the texture, prime, feather, and paint to a break, and the repair vanishes.
Common texture types
Identify your texture first, because each one is matched differently. Stand at an angle in good light and look closely.
- Smooth. No texture at all. Common on modern and high-end interiors. The patch has to be feathered and finished perfectly because there is nothing to hide behind.
- Orange peel. A fine, bumpy spray texture, like the skin of an orange. Extremely common on Seattle-area walls.
- Knockdown. Orange peel that has been flattened with a knife while still wet, giving a mottled, troweled look. Trickier because of the timing.
- Skip-trowel. A hand-applied troweled texture with a more random, layered pattern.
- Popcorn / acoustic. A heavy, bumpy ceiling texture. In pre-1978 homes it may contain lead and should be tested before it is disturbed.
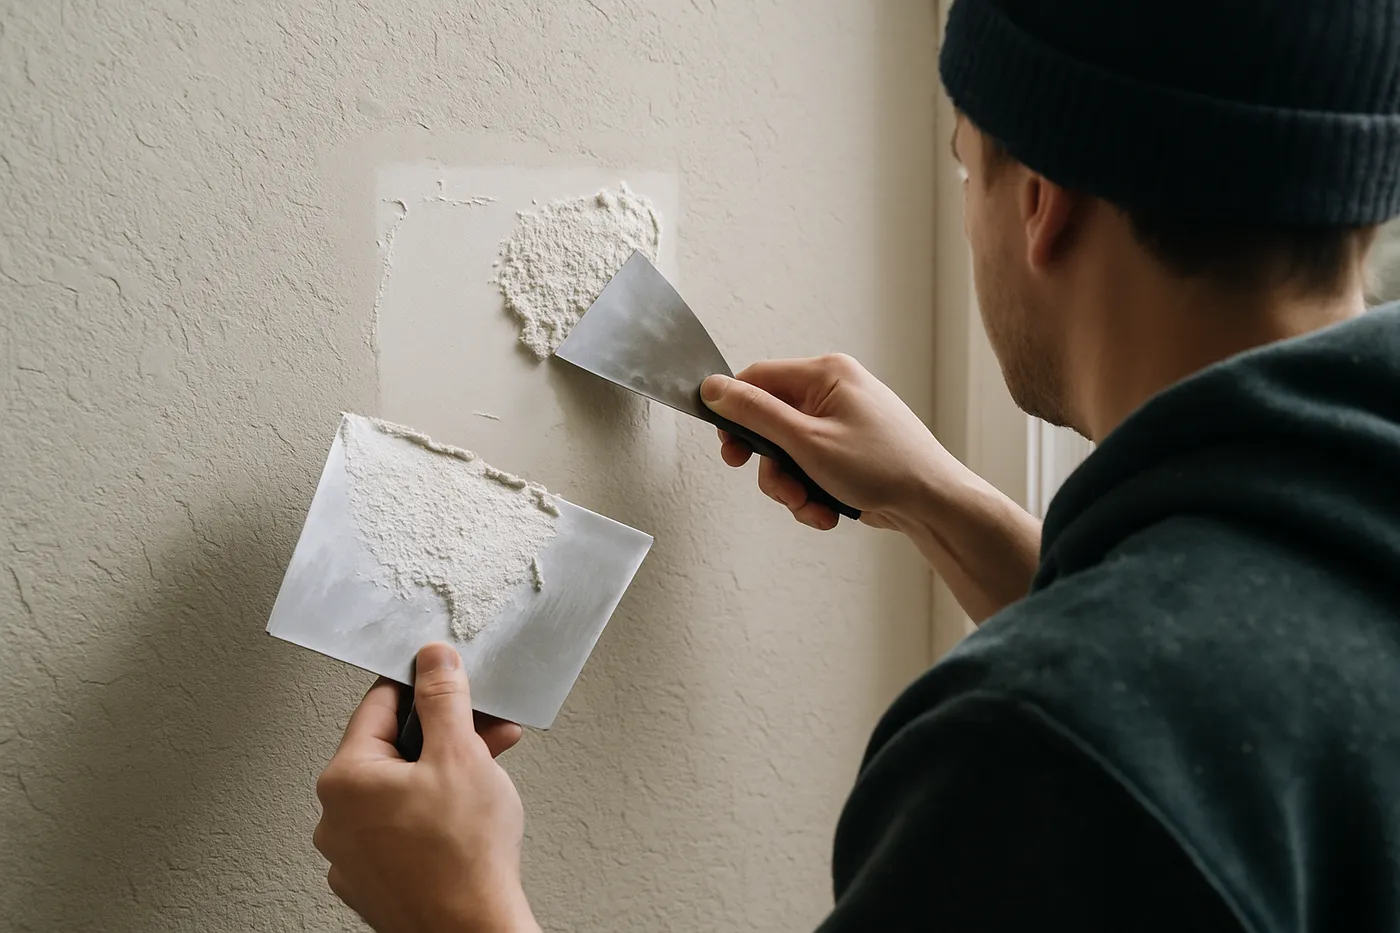
How to match each texture
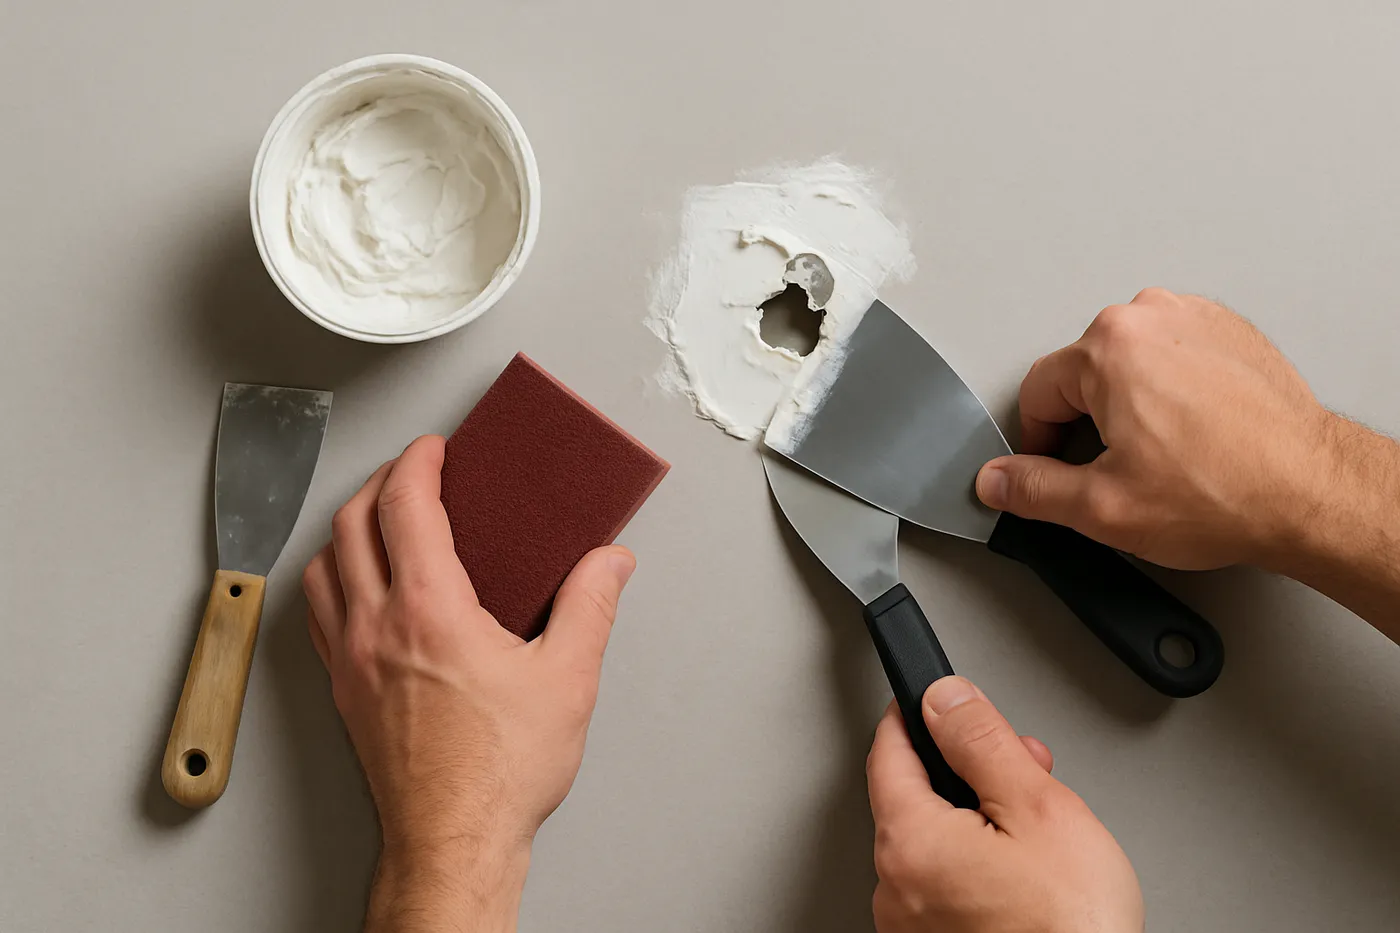
- Smooth. Feather the compound wide, sand to a flat, even surface, prime, and paint to a natural break. The skill is in the feathering and the finish, not in a texture tool.
- Orange peel. Replicate it with a texture spray can or an aerosol hopper set to the right spatter size, or stipple it with a sponge. Test on cardboard first, build it up to match the existing wall, feather into the surrounding texture, then prime and paint.
- Knockdown. Spray the orange-peel base, wait for it to set up to the right tackiness, then drag a knockdown knife across it to flatten the peaks. The timing is everything and it takes practice. This is the trickiest texture to match by hand.
- Popcorn / ceiling. Use caution. Pre-1978 popcorn may contain lead, so test before disturbing it. If it is clear, match with a popcorn spray product, but overhead work and matching the aggregate size is specialty work.
Prime and paint to blend
Once the texture matches, two finishing steps make or break the result:
- Prime the patch. Sealing the bare compound stops it from absorbing paint unevenly, which is what causes a dull, flashing spot.
- Paint to a natural break. Repaint the full wall, or at minimum to a corner or trim line, rather than spot-painting the patch alone. That keeps the new paint’s sheen and color from flashing next to the older paint.
A patch that still shows after all that? It usually means the texture or sheen is just slightly off. A free written estimate costs nothing, and one crew can match, prime, and paint it so it disappears. Call (206) 250-9193 or request a free estimate.
When to call a pro
Some texture matching is genuinely hard. Call a pro when you are dealing with:
- Knockdown or popcorn matching, where timing and aggregate size decide the result.
- Ceilings, where overhead work compounds the difficulty.
- Large areas, where a small mismatch repeats across the whole surface.
- Sheen flashing you cannot get rid of by spot-painting.
- Pre-1978 popcorn, which should be tested for lead before it is touched. See our EPA Lead-Safe Certified work.
The Pacific Northwest angle
Mid-century Seattle and Eastside housing stock is full of orange-peel walls and textured or popcorn ceilings, the exact finishes that make a DIY patch flash. If your home was built before 1978, the popcorn ceiling may contain lead and should be tested before anyone disturbs it. Matching these older textures is routine for a crew that does it daily and a real headache for a one-off weekend repair.
How Hedlund does it
A repair that truly disappears is craft, not luck. We identify the existing texture, replicate it across the patch, feather the edges, prime, and paint to a natural break so the sheen and color blend seamlessly. One crew handles the repair, the texture, and the paint, which is what separates a real finish from a visible patch. Every repair is backed by our 10-year workmanship warranty.
What our clients say
“Hedlund Painting is awesome! Their attention to detail is by far the best. All the folks who work there are great people, and really know what they are doing.” Ashley P., 5 stars (Google)